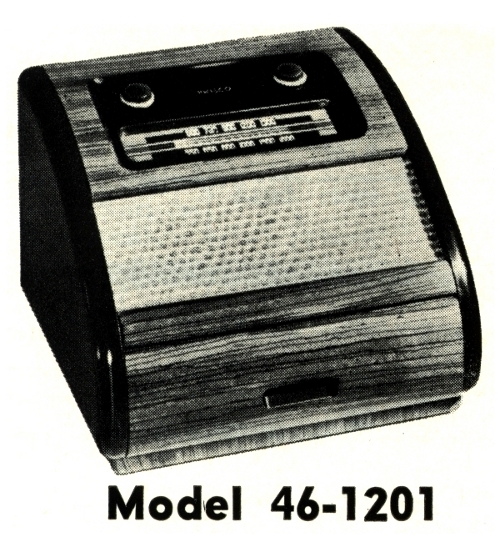
Restoring a Philco 46-1201
Bing Crosby Radio/Phonograph

For The Philco 46-1201 |
|
|
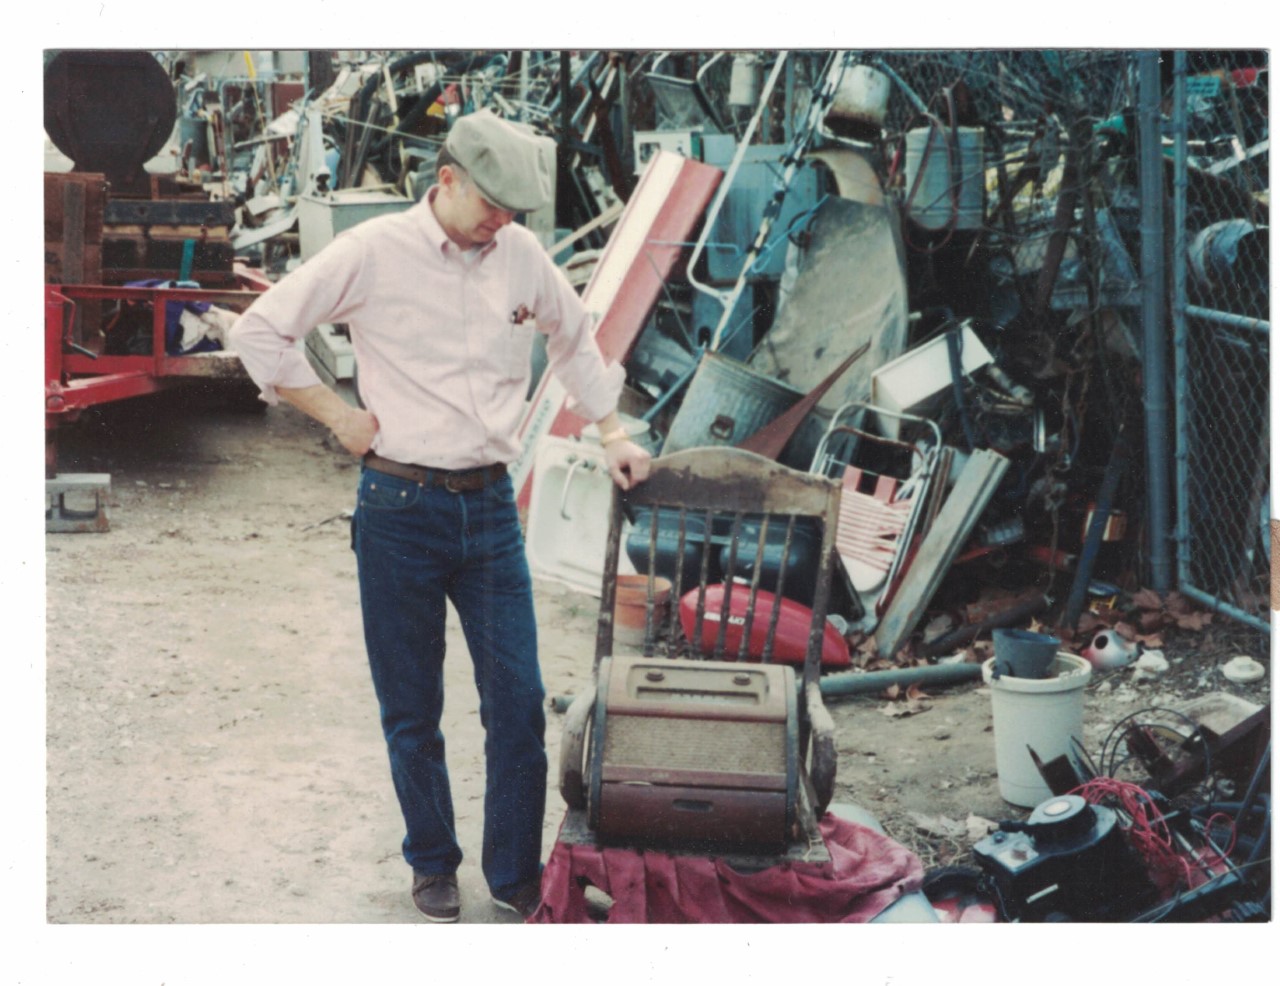
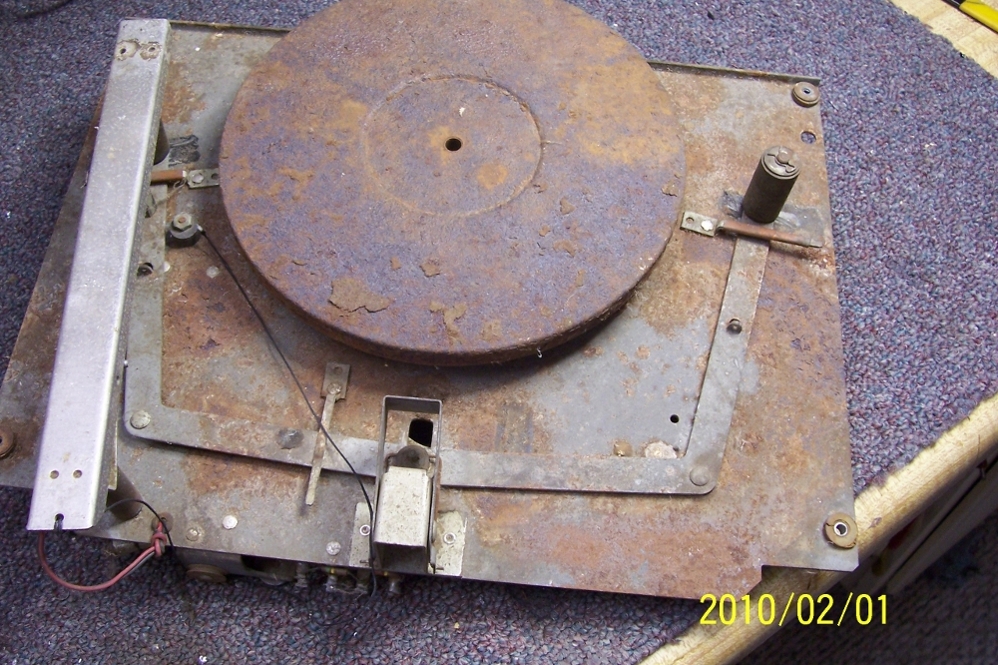
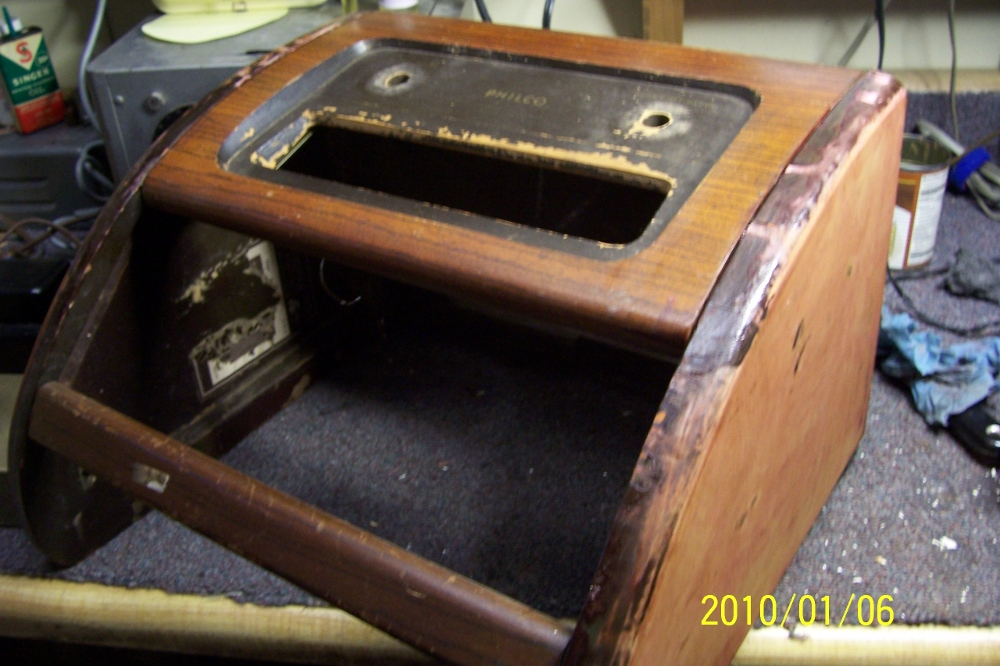
I acquired this Philco radio/phonograph combination a number of years ago with every intent of restoring it right away. However, the turntable was missing parts and so rusted that it was beyond restoration, so I put it on the back burner where it stayed for some 10 years.
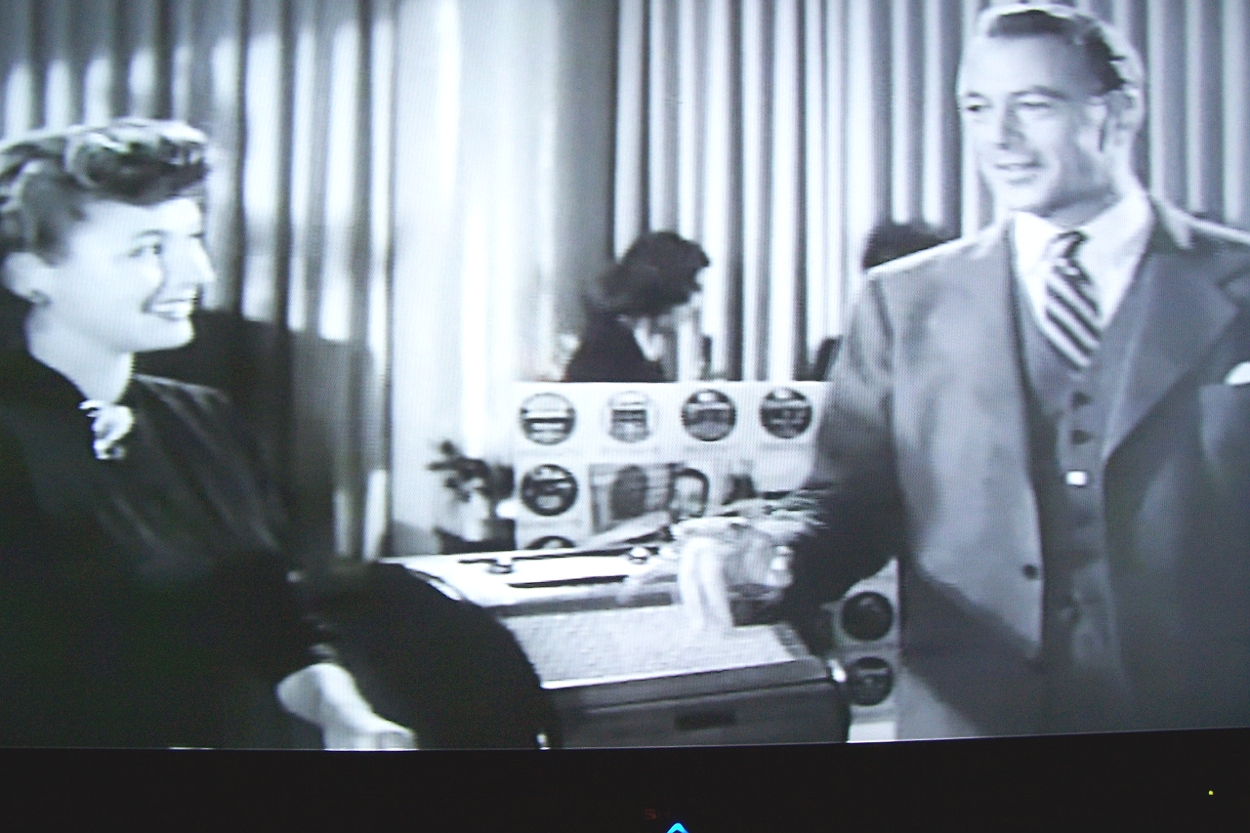
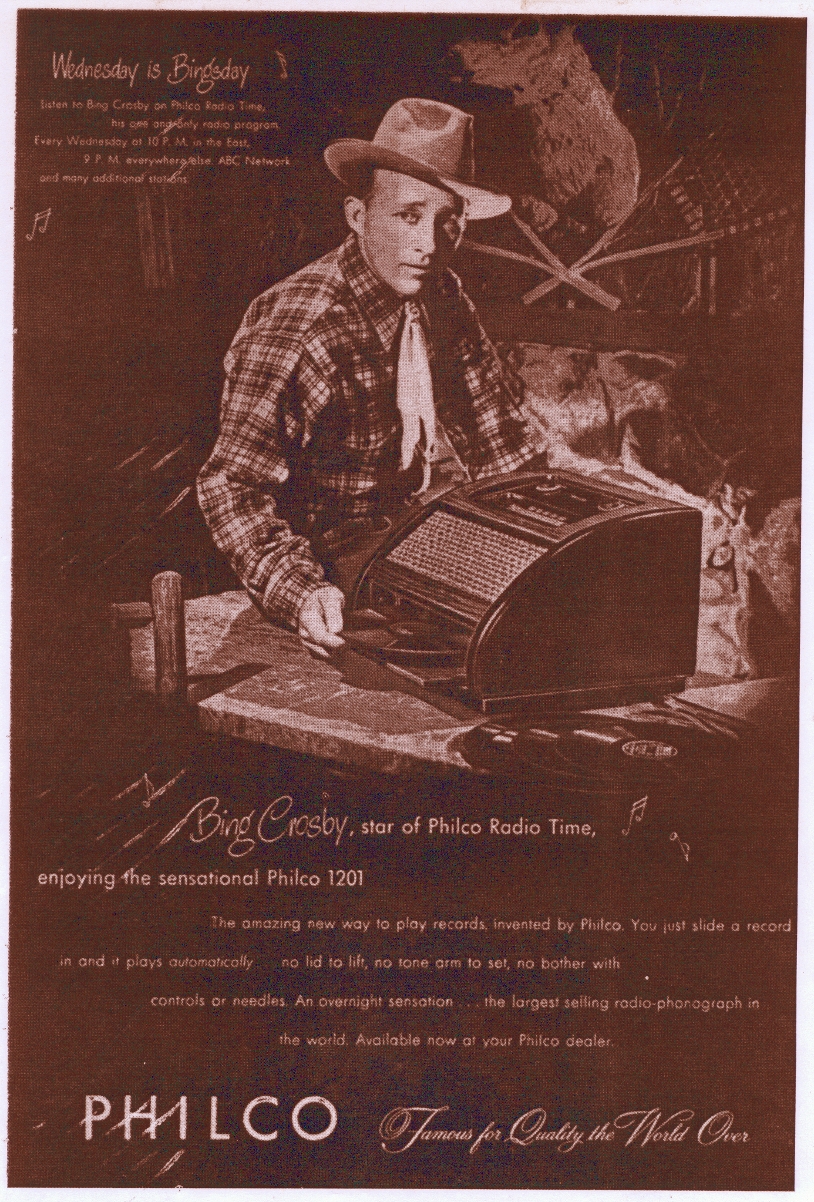
Fast forward to 2009. The estate of a local radio collector was being auctioned off at a local auction house. Amoung the items were two 46-1201's. Both were in pretty bad condition as far as cabinet finish, but upon examination, one had an almost rust free and complete turntable. When the set came up for bid, there was no interest from other bidders, so I offered $2 which was accepted. As the model number signifies (46-1201), this model was produced in 1946. In 1937 Philco began assigning the last two digits of the year of manufacture as the first digits of the model number. The set has been given the title among collectors as the Bing Crosby Philco model because of the ad in which Mr. Crosby advertised the set for Philco. The styling is quite unique as compared to other table top radio/phono combinations. |
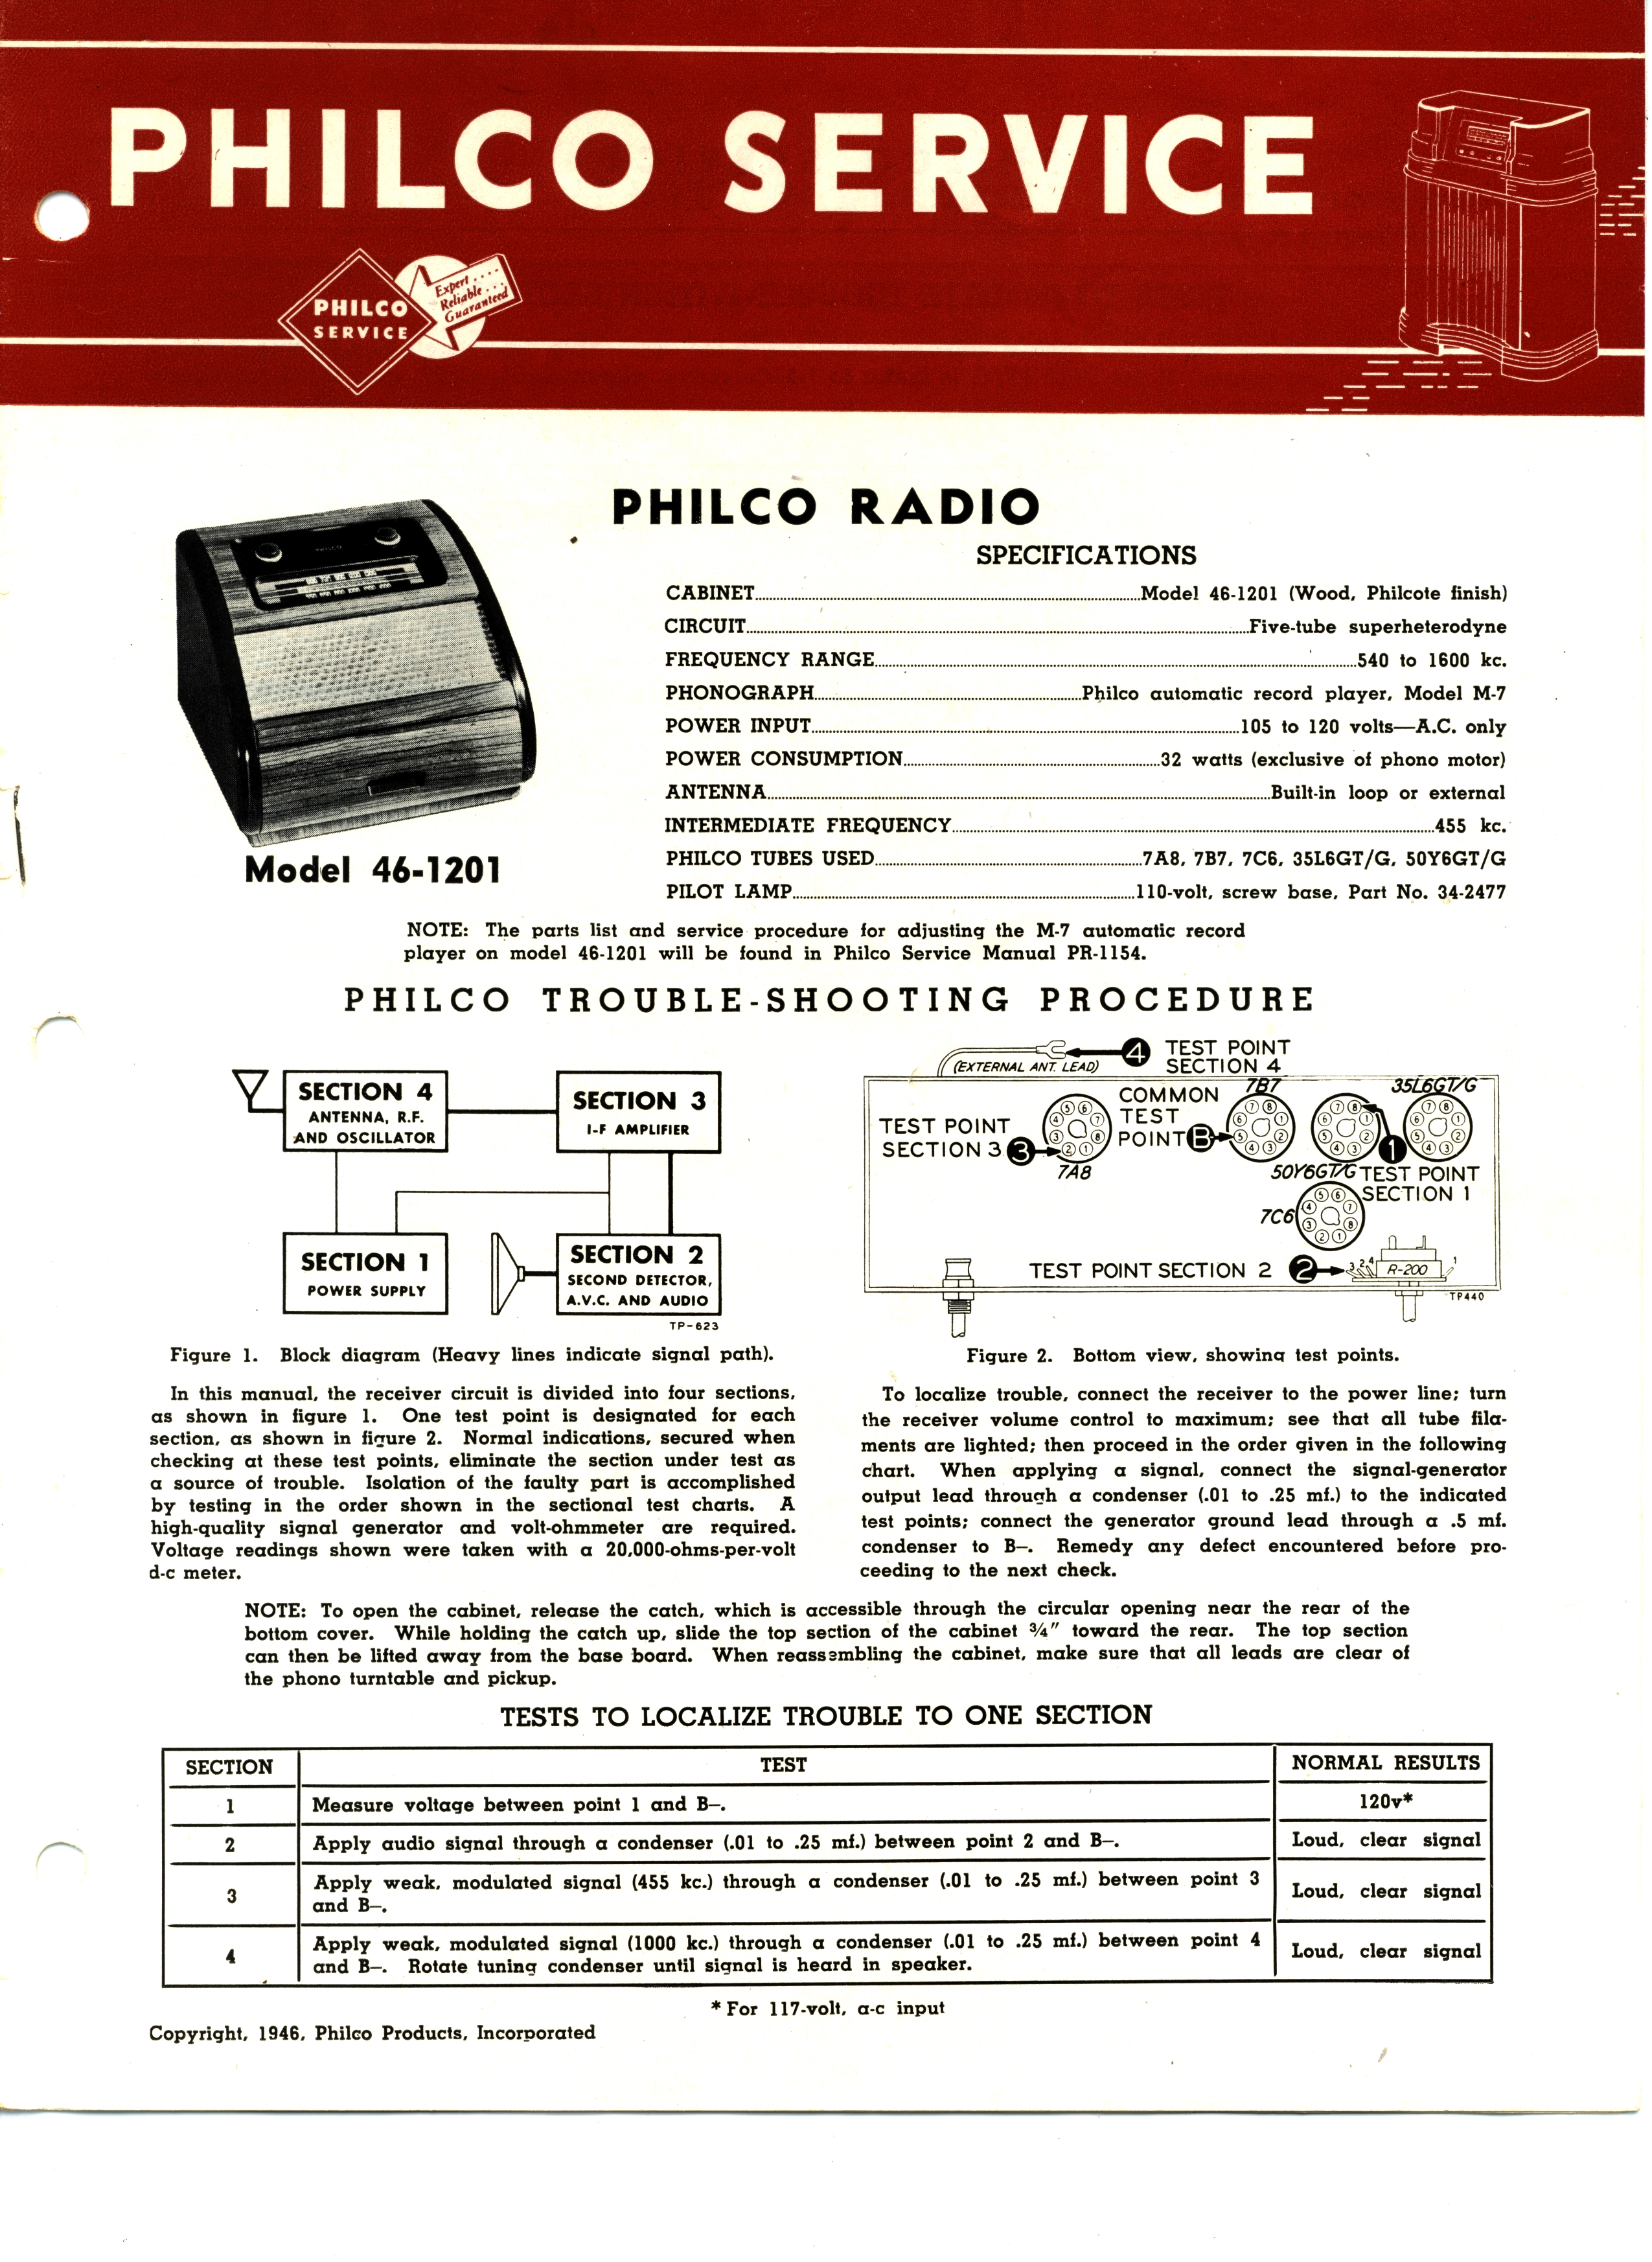
| SPECIFICATIONS |
|
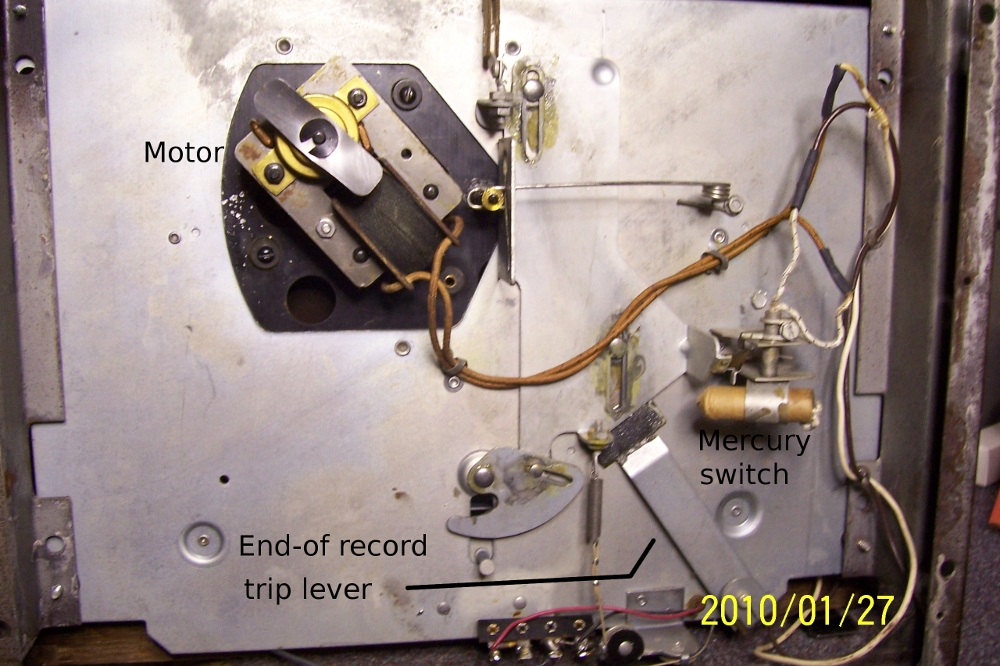
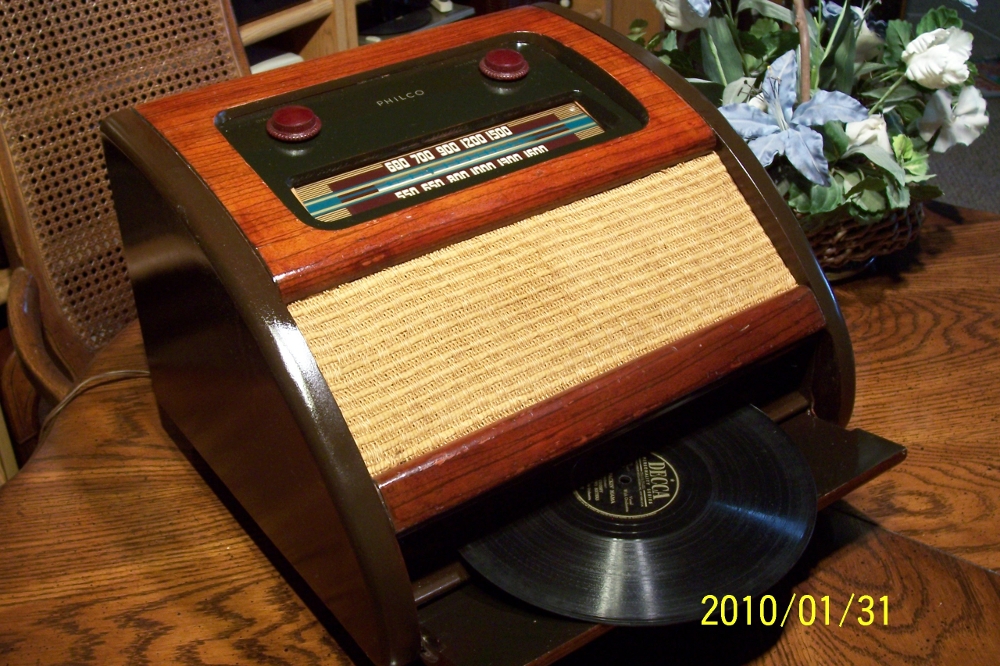
The chassis uses an AC/DC power supply in a voltage doubler circuit, however since a turntable is involved it can only be run on AC. The unique feature of the unit is the built in phono which is accessed through a drop down door in front. It plays a single 78 rpm record that is inserted through the opening. When the door is opened, the tone arm is automatically raised and then lowered onto the edge of the record when closed. The closing action also starts the phono motor. Twelve inch 78's can also be accommodated. When the record reaches the end of play, the back and forth motion of the tone arm causes a mercury switch to open and stop the turntable.
|
|
|
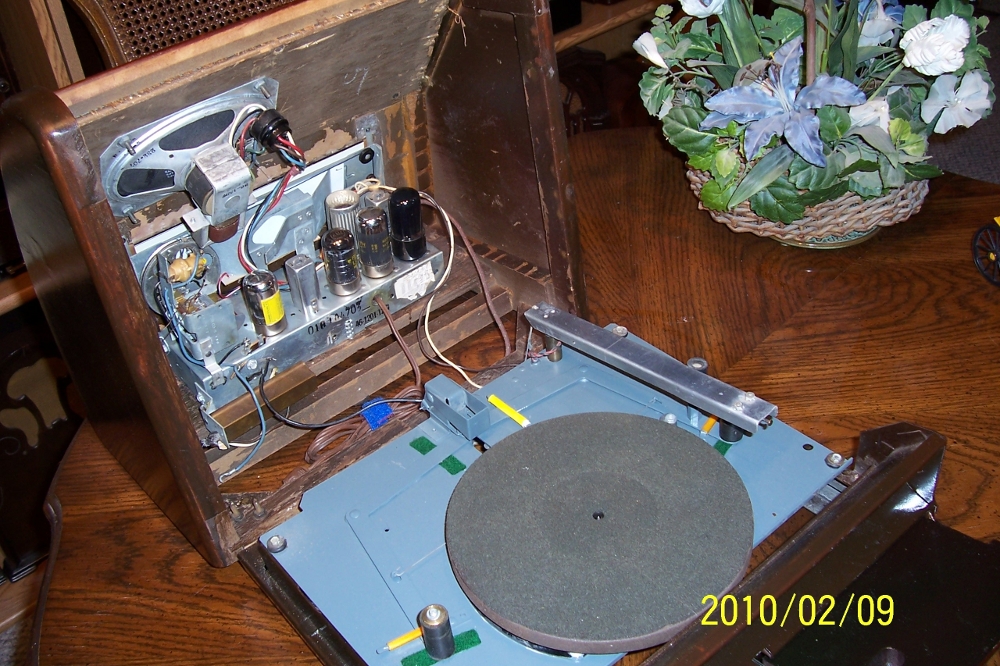
Now with parts set in hand, I began the restoration that had been put off for so long. The radio and turntable are easily seperated by pressing two spring loaded latches on either side just inside the turntable access door. The top, which houses the radio and speaker, opens up like a clam shell giving full access to the turntable and radio chassis. | ||||||||||||||||||||||||||||||||||||||||||||||||||
|
|
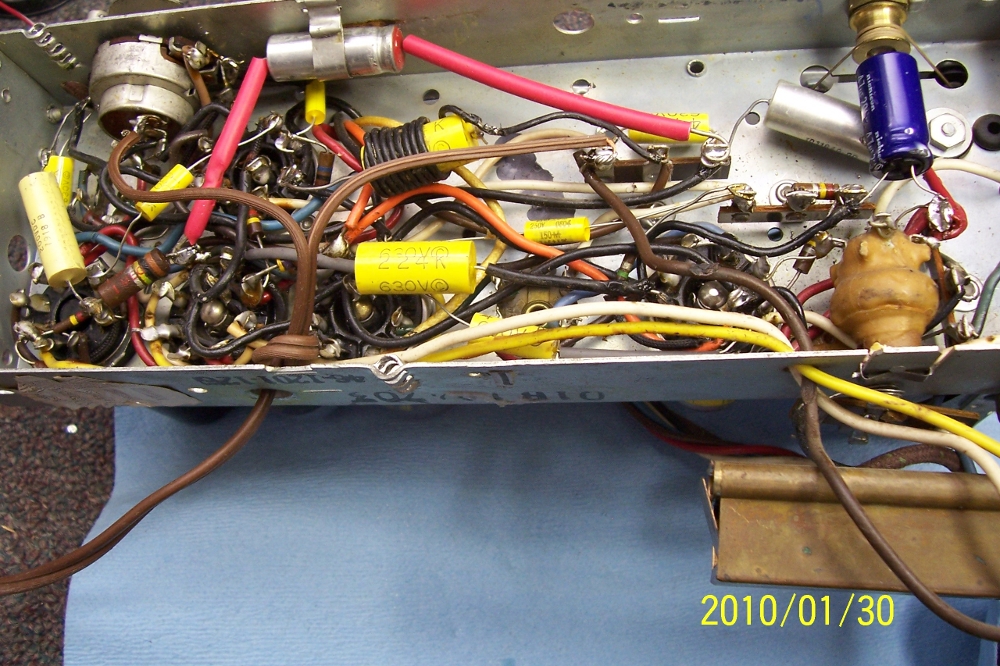
I began with the radio and replaced the electrolytic and paper capacitors. The tubes all tested good. Powering up, the radio played pulling in station all across the dial with good volume. An alignment touch-up was all that was needed to complete the electrical restoration. | ||||||||||||||||||||||||||||||||||||||||||||||||||

|
|
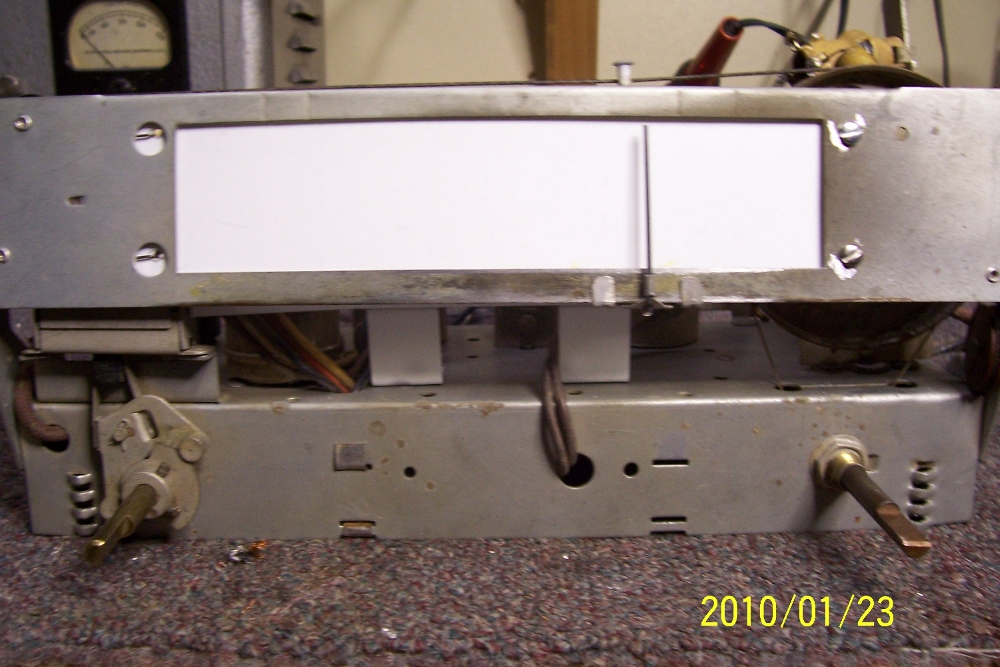
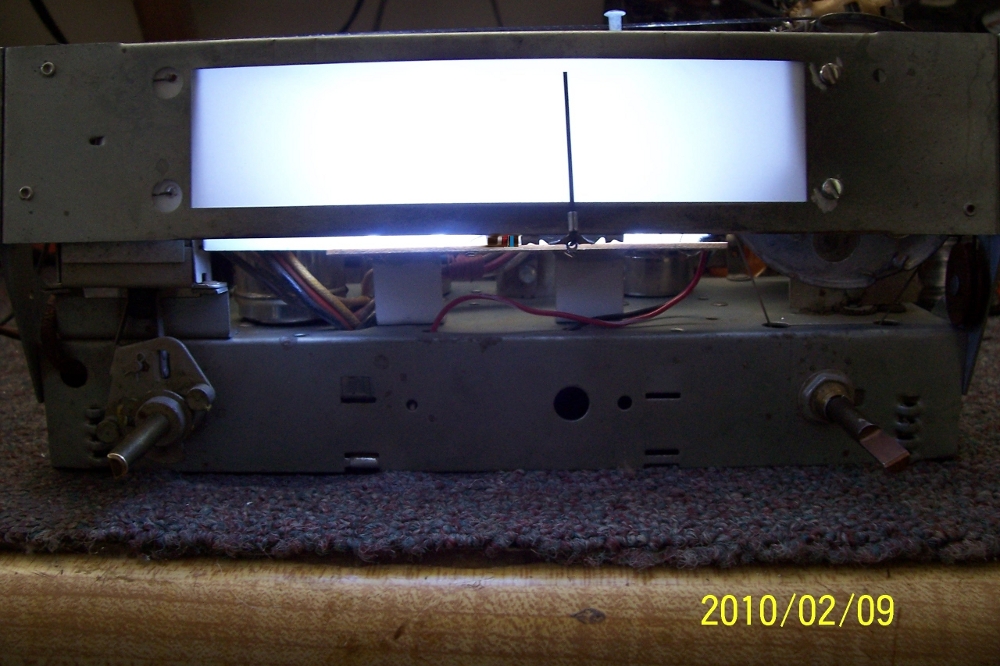
I have seen numerous of these units and they all exhibit the same problem, a large burn spot on the pilot light diffuser. The reason is, because of the 110 VAC 7 watt bulb use as the pilot lamp. This set was no exception as was the parts unit also. A new diffuser had to be constructed and since I did not want the same problem I needed to do something about a different pilot lamp. I made a trip to the local model train shop and purchased a piece of .020 thick sheet styrene. Using the old diffuser as a guide a, new one was constructed which solved that problem, now to do something about a different pilot lamp.
| ||||||||||||||||||||||||||||||||||||||||||||||||||
|
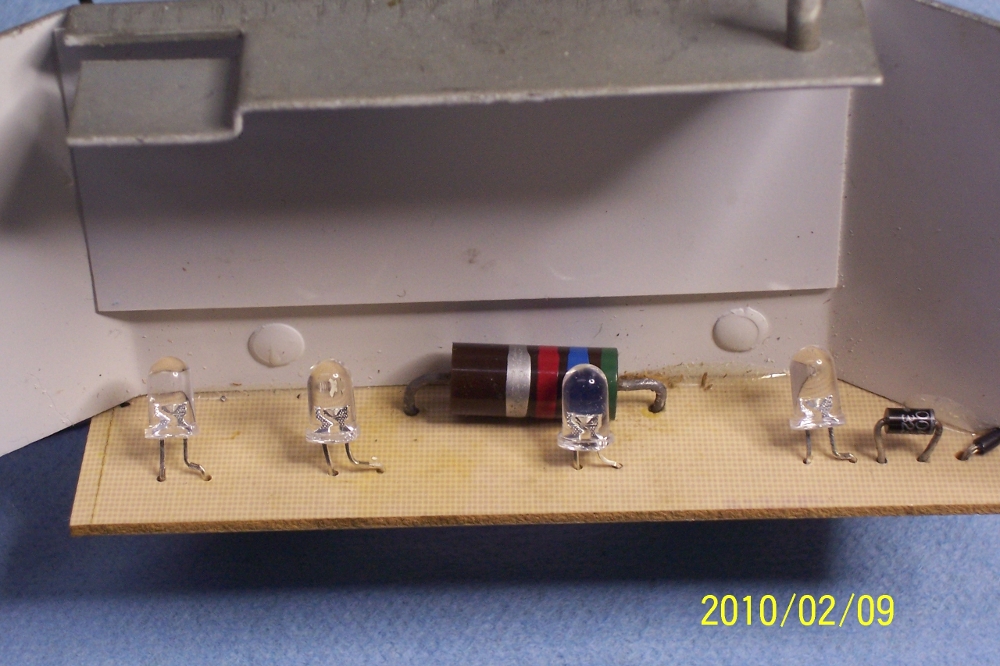
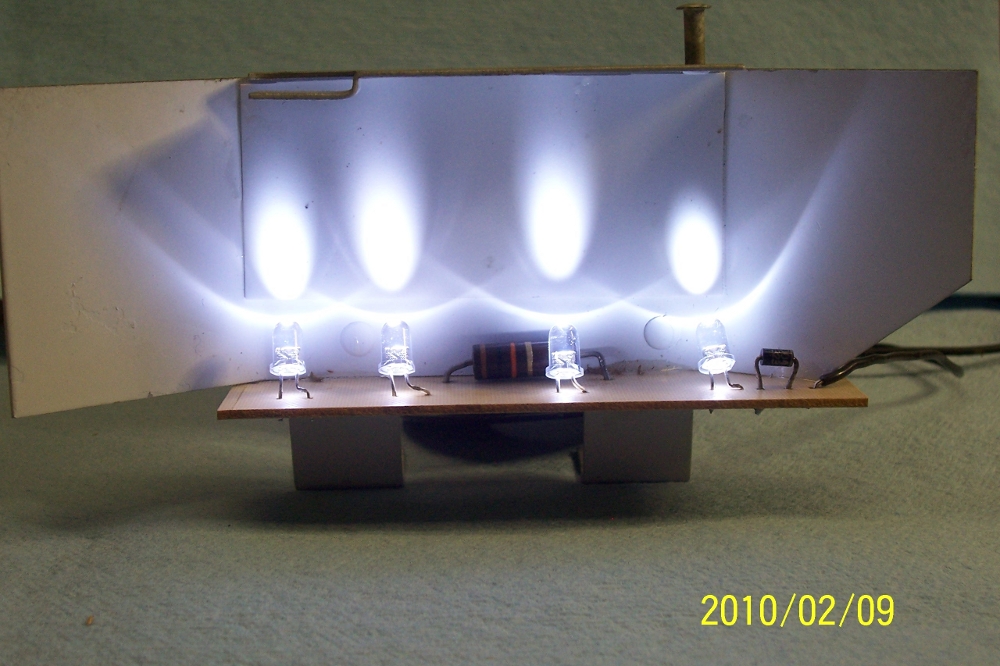
Scrounging through the parts cabinet produced some ultra-bright white LEDs (Light Emitting Diode), I decided to try using these as a dial lamp replacement. After a little expermenting I came up with connecting four LEDs in series with a diode and a 1500 ohm 2W dropping resistor, which gave a nice bright light when operating the LEDs across 120 VAC. A circuit board was constructed on which to mount the components and the board was epoxied to the lower edge of the bracket that held the original pilot lamp. A piece of styrene was cut to cover the hole where the orginal pilot lamp shown through. I had orginally tried mounting the LED pc board so that the LEDs shown directly on the light diffuser, but each LED acted like a minature spot light and this quite unsatisfactory. By mounting the board at the bottom of the pilot light bracket with the LEDs pointing upward and slightly rearward, the refelected light was just right with no heat and what should be a long lifetime. | ||||||||||||||||||||||||||||||||||||||||||||||||||
|
|
|
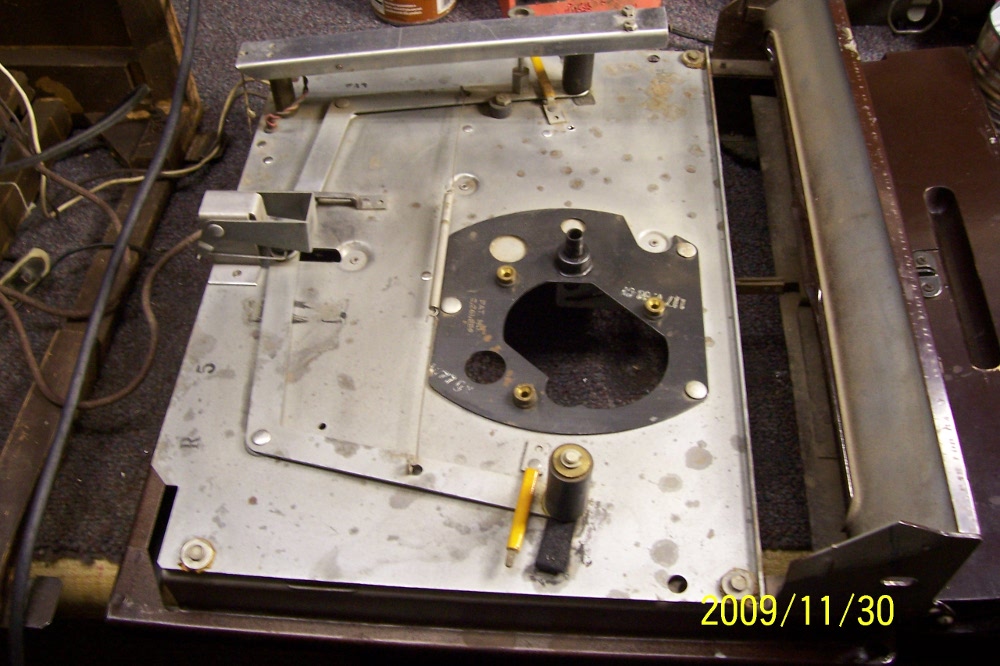
The turn table from the parts set was removed from the base. There was quite a bit of corrosion and a bit of rust, so Naval Jelly was used to clean the rust and corrosion. The motor and drive wheels were removed, disassembled, and given a good cleaning along with all the other moving parts and lubrication applied where required. The cartridge was tested and found to be good.
| ||||||||||||||||||||||||||||||||||||||||||||||||||
|
|
|
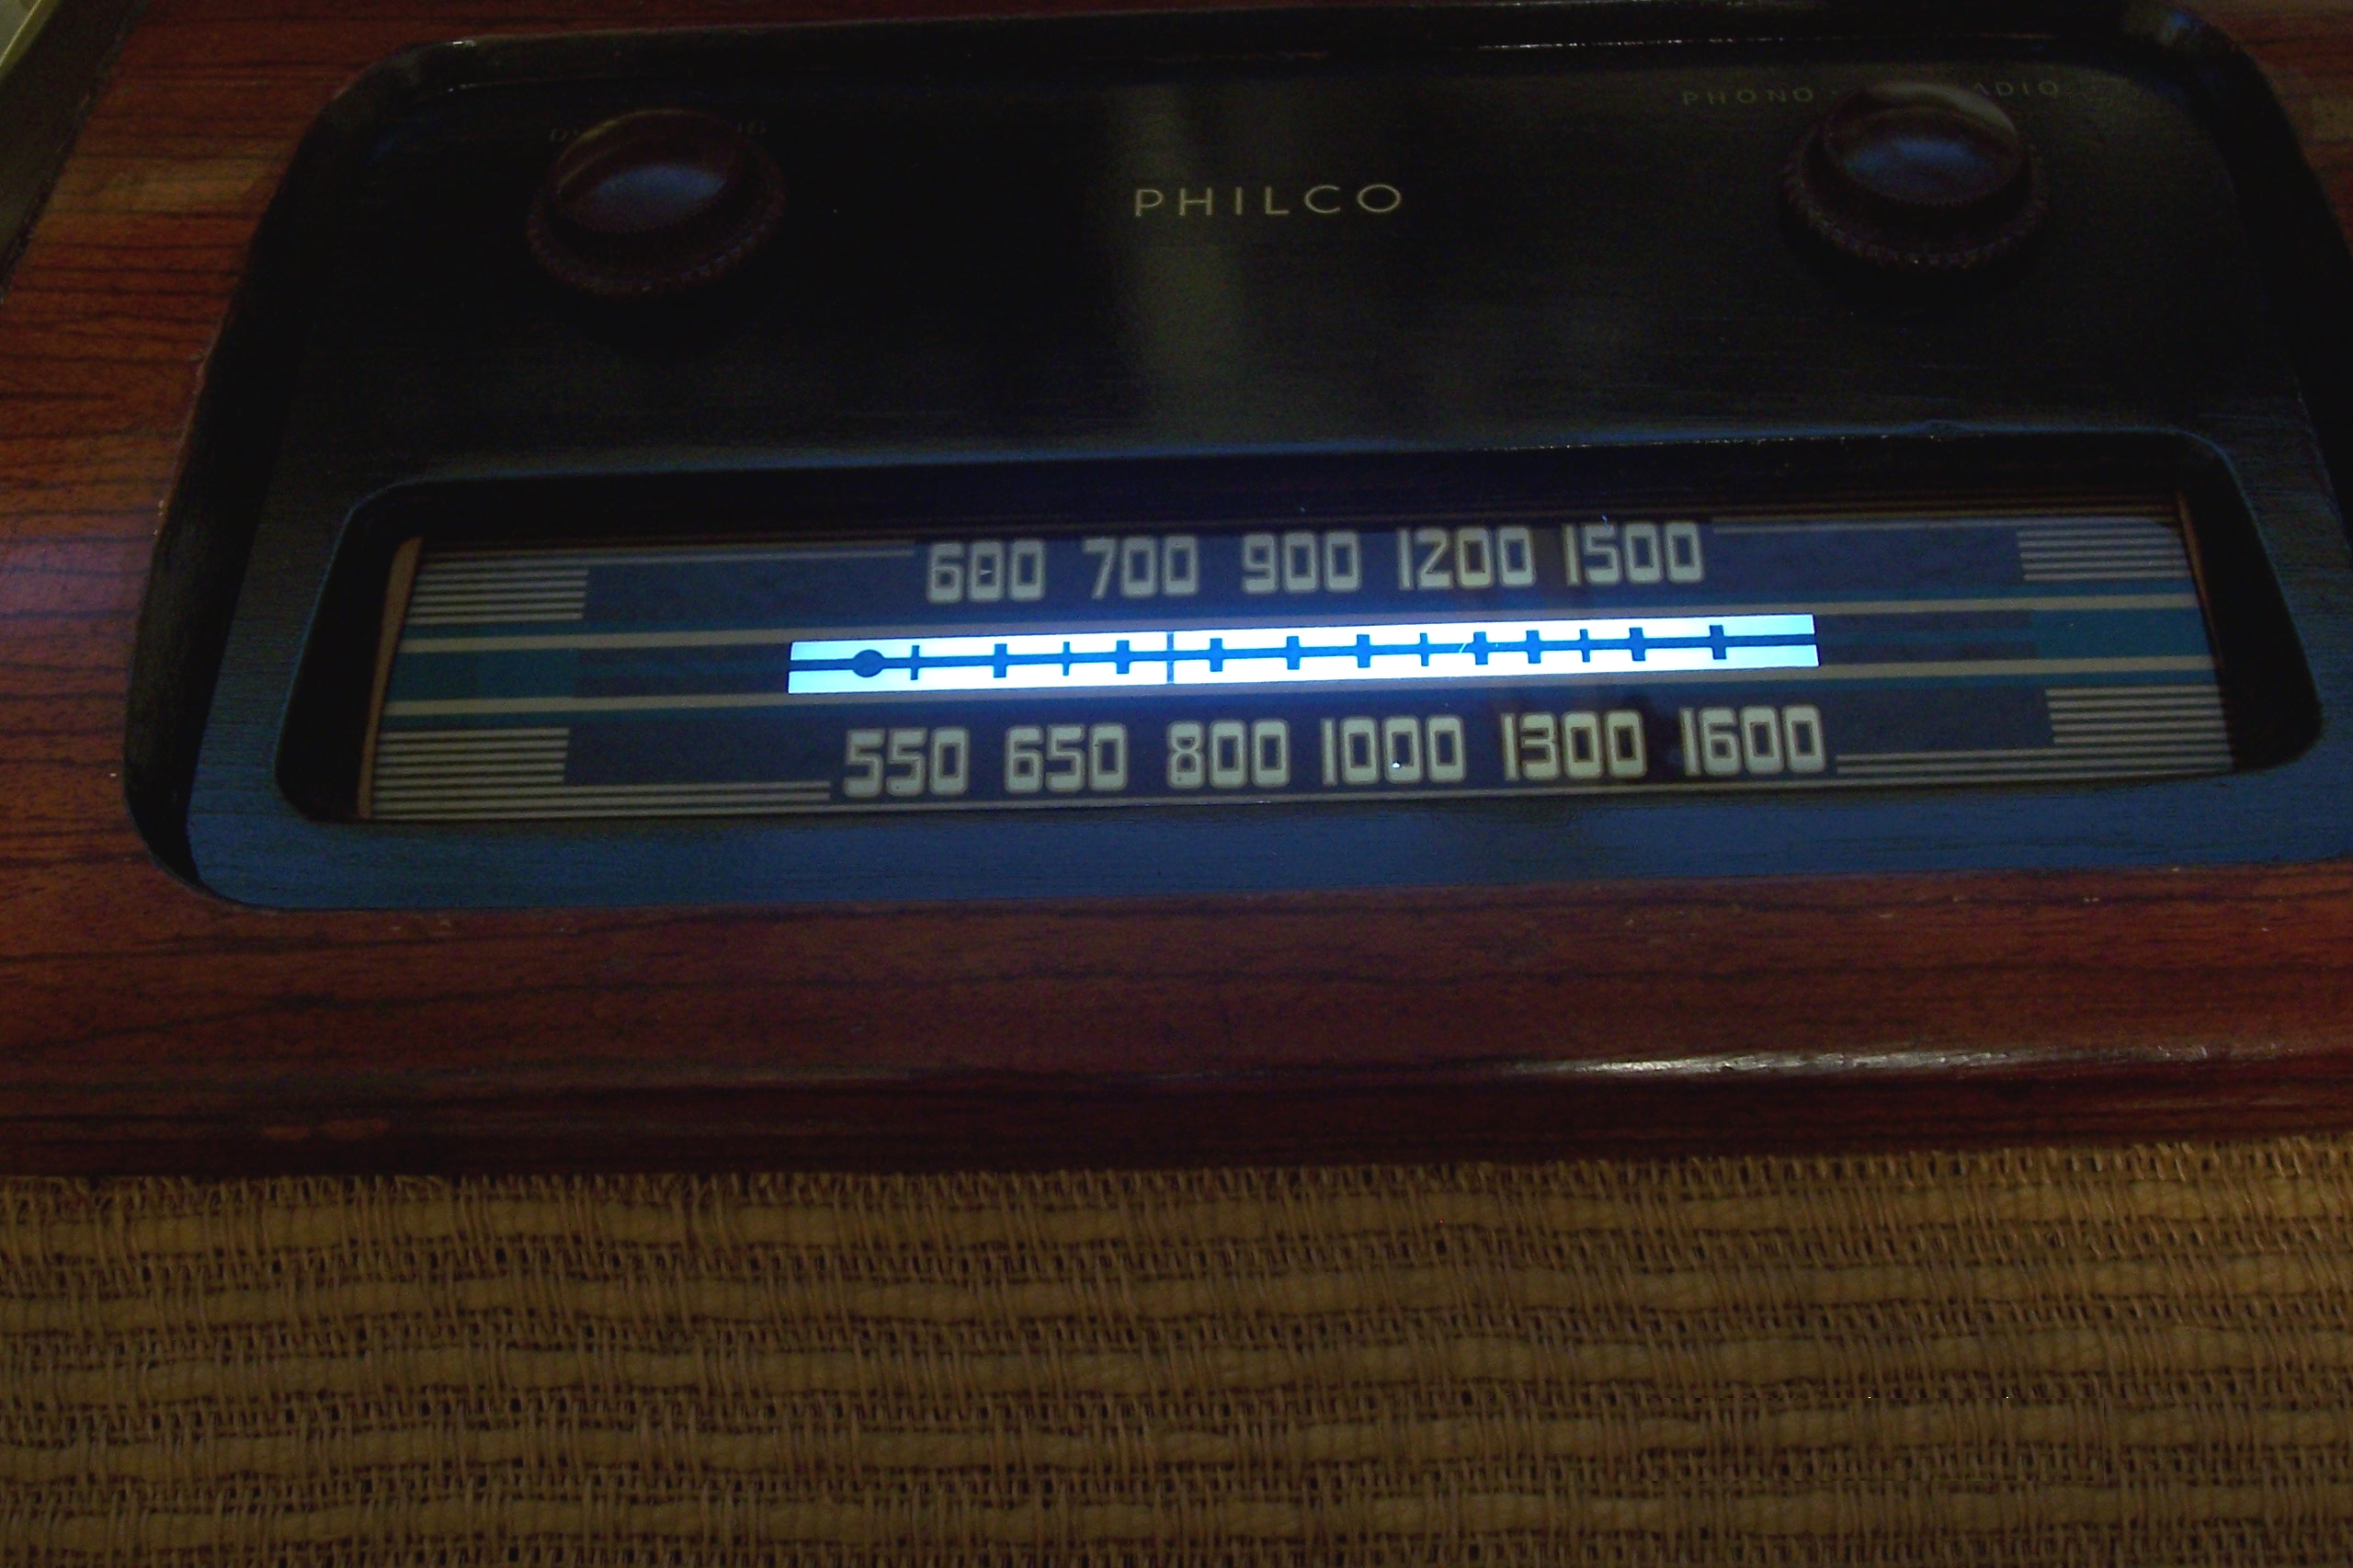
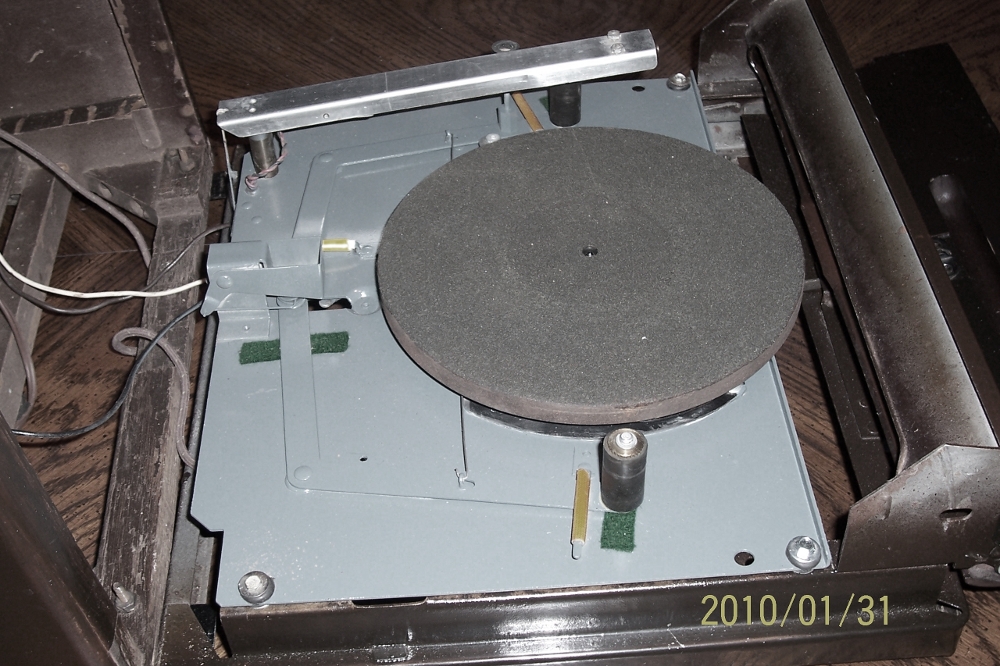
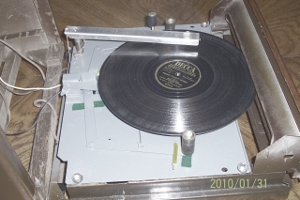
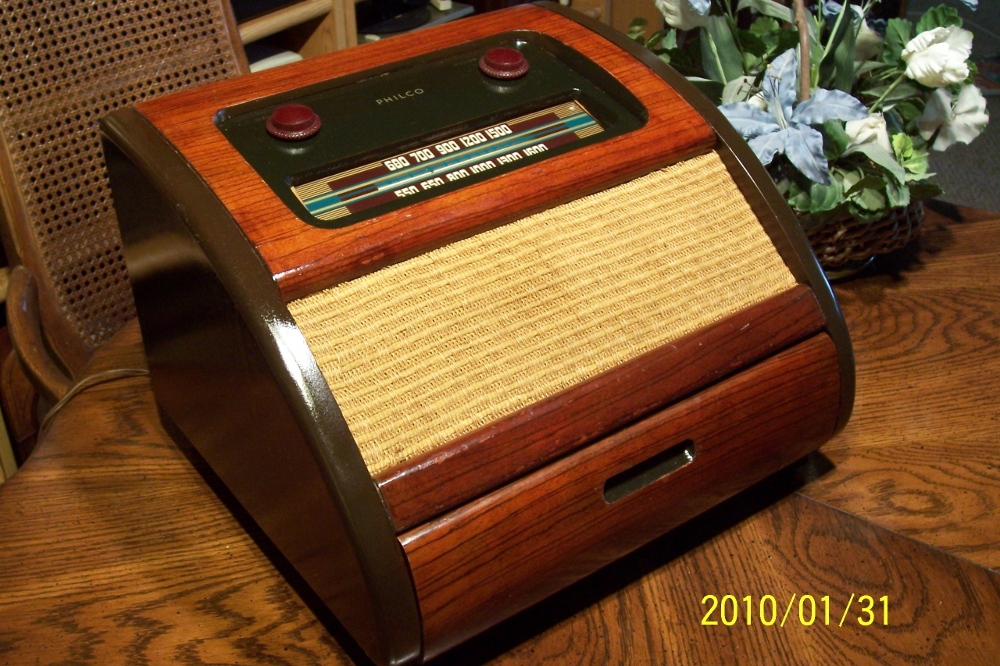
The turntable platter had lost most of it's flocking so another trip to the model train shop to purchase a container of dark green Woodland Scenics Fine Turf. What was left of the old flocking was removed and the platter cleaned and painted generously with thinned Elmer's White Glue over the entire surface. Next a generous amount of Fine Turf was applied and let set overnight for the clue to dry. Brushing off the excess left a nice coat of flocking. To make the turntable look a bit more presentable, it was given a coat of gray paint. The base was cleaned of a bit of rust and given a coat of brown paint, and the turn table installed. The pictures above shows the restoration results. The top of the set is covered with the famous Philco faux wood grain (Philcote) finish. This is a finish that is printed on paper and applied over the wood, and when removed, it is gone for good. Where this finish has been badly damaged, about the only option is to remove it completely. Fortunately the finish on my set was in very good condition with only a few small spots missing. The finish was touched up by wiping on a light coat of Behlen Medium Brown Walnut stain. The cabinet sides were a different story. The finish was badly crazed and the only option was a complete strip and refinish. After stripping, dents and gouges were filled, sanded and then stained with the same stain used on the faux wood grain finish. Then several coats of Van Dyke Brown toning lacqluer was applied until the desired level of darkness was acheived. Staining before applying the toning lacqure darkened the wood so less coats of lacquer were required. The dial area was also refinished in Van Dyke Brown. The grill cloth was cleaned with a tooth brush and soapy water and then given a light coat of Medium Dark Walnut toning lacquer to darken it just a bit. After applying new Philco decals the entire cabinet was given several coats of clear toning lacquer. The following pictures show the final results. | ||||||||||||||||||||||||||||||||||||||||||||||||||
|
|
A Final ThoughtFinally being able to reatore this set was a real pleasure. I had thought several times of getting rid of it as I was convinced that I would never be able to restore it with a working turn table. It performs very well on both radio and phono and I am really pleased that I now have it restored and in my collection.
If you have a moment please read/sign the GuestBook
of Webcounter
| ||||||||||||||||||||||||||||||||||||||||||||||||||||||